Easy No-Knead Bread
Posted on: January 2, 2023. Updated on: July 1, 2023.
 by Carolina Gelen
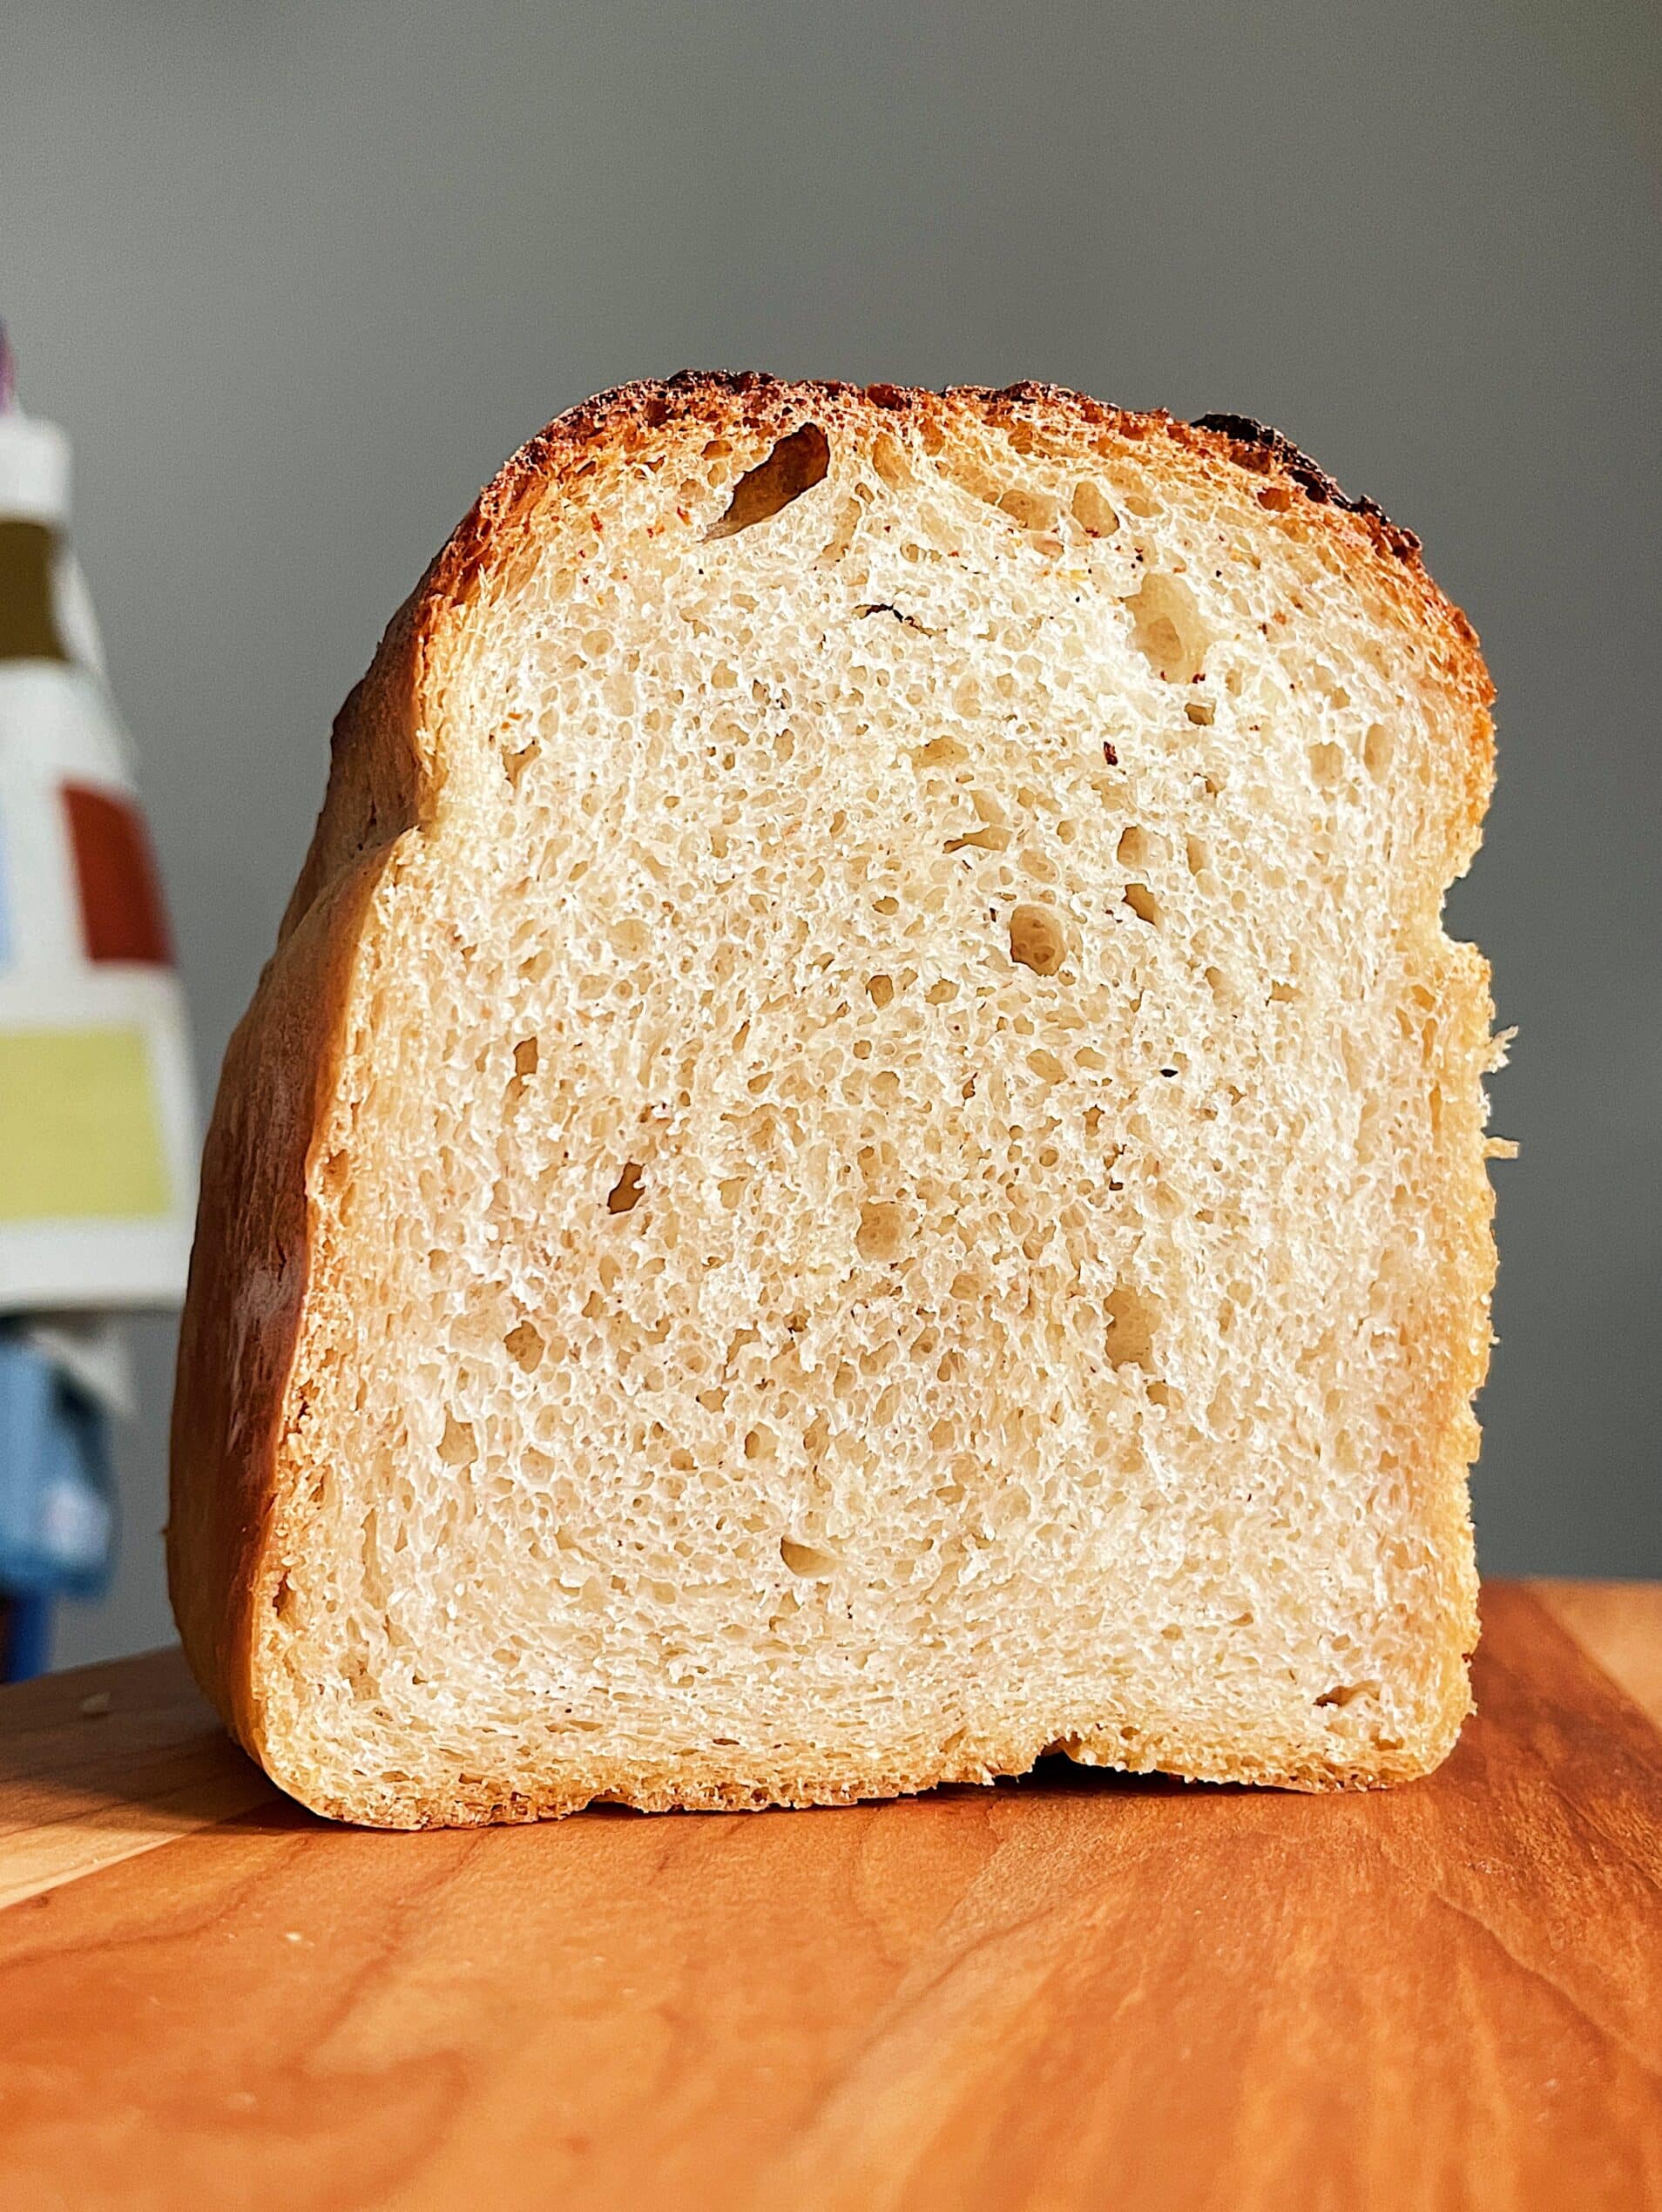
This easy no-knead bread is a reliable recipe you can come back to every week, this dough requires 4 ingredients you might already have in your pantry (flour, salt, yeast, water), it comes together in less than 5 minutes, it requires no kneading, all it needs is just an break in the fridge. This bread has a tender crumb and is so versatile, toast it, fry it, sandwich it, it’s up to you. My favorite way to serve it is with freshly made strawberry rose jam.
- Combine the yeast and lukewarm water in a bowl. Mix until the yeast has dissolved and until the liquid looks cloudy. Add the oil, flour, and sprinkle the salt on top. Roughly mix using a fork or wooden spoon, until there are no more dry flour spots. You will be left with a shaggy, sticky dough. Cover the bowl and place it in the fridge overnight to proof, for 8 to 12 hours. Since we’re not kneading the dough, the dough needs time to develop structure, but also flavor, hence the lengthy proofing time. It’s going to be worth it!
- Lightly dust the work surface with flour. Dump the bread dough on your work surface. Punch down the dough into a rough rectangle shape. Bring the corners of the dough to the center, to form the dough into a smaller rectangle shape. Roll the bread from one end of the rectangle to the other, to form a log. Place the dough log in a 9 x 5 inch ( 22 x 12 cm) loaf pan.
- Proof the dough for 45 to 50 minutes in a warm spot, or until roughly doubled in size. Halfway through proofing, heat the oven to 400°F (205°C). To test if the dough is proofed, gently poke the dough with your finger:
– if the dough springs right back to its initial form, it needs more proofing
– if the dough springs back but is left with a small dent, it’s ready for baking
– if the dough doesn’t spring back and is left with a big dent, it’s overproofed - Score the proofed dough across the top using a bread lame or a sharp knife. Bake the dough for 50 minutes to 1 hour on the middle rack, until golden brown and crusty. To check if the bread is ready, carefully lift the bottom and tap: if it sounds hollow, it’s ready, if it doesn’t, it needs more time. All ovens are a little different, so use my time estimate as a guide, rather than a strict rule.
- Store at room temperature for up to 5 days. If you have any leftover bread, slice it and freeze it in a ziplock bag. Toast the frozen slices straight from the freezer, right before serving.
Easy No-Knead Bread
Servings: 12
Prep: 15min, plus overnight proofing
Cook: 1hr
Total: 1hr 15min
Ingredients
- 6 g (about 2 teaspoons) active dry yeast
- 410 g (about 1 2/3 cups) lukewarm water
- 470 g (about 3 2/3 cups) all-purpose flour, plus more for dusting
- 10 g (1 1/2 teaspoons) kosher salt
- 45 g (3 tablespoons) oil, such as olive oil, avocado oil, canola oil
Instructions
- Combine the yeast and lukewarm water in a bowl. Mix until the yeast has dissolved and until the liquid looks cloudy. Add the oil, flour, and sprinkle the salt on top. Roughly mix using a fork or wooden spoon, until there are no more dry flour spots. You will be left with a shaggy, sticky dough. Cover the bowl and place it in the fridge overnight to proof, for 8 to 12 hours. Since we’re not kneading the dough, the dough needs time to develop structure, but also flavor, hence the lengthy proofing time. It’s going to be worth it!
- Lightly dust the work surface with flour. Dump the bread dough on your work surface. Punch down the dough into a rough rectangle shape. Bring the corners of the dough to the center, to form the dough into a smaller rectangle shape. Roll the bread from one end of the rectangle to the other, to form a log. Place the dough log in a 9 x 5 inch ( 22 x 12 cm) loaf pan.
- Proof the dough for 45 to 50 minutes in a warm spot, or until roughly doubled in size. Halfway through proofing, heat the oven to 400°F (205°C). To test if the dough is proofed, gently poke the dough with your finger:
– if the dough springs right back to its initial form, it needs more proofing
– if the dough springs back but is left with a small dent, it’s ready for baking
– if the dough doesn’t spring back and is left with a big dent, it’s overproofed - Score the proofed dough across the top using a bread lame or a sharp knife. Bake the dough for 50 minutes to 1 hour on the middle rack, until golden brown and crusty. To check if the bread is ready, carefully lift the bottom and tap: if it sounds hollow, it’s ready, if it doesn’t, it needs more time. All ovens are a little different, so use my time estimate as a guide, rather than a strict rule.
- Store at room temperature for up to 5 days. If you have any leftover bread, slice it and freeze it in a ziplock bag. Toast the frozen slices straight from the freezer, right before serving.

Your bread is amazing of course. I made chef Justice bread from IG soooo easy but he dosn’t overnight it so we didn’t think flavor mature enough( that’s my husbands comment.) Yours is perfect. I LOVE your videos and still make TONS of your recipes from your beginnings on IG! TY
Do you happen to know how much sourdough starter I could use here to replace the active dry yeast?
I’d use 15% of the total flour, that would be 70 g total of starter for this recipe 🙂
Is it possible to use self raising flour if that’s all you have on hand?
Hi Genevieve,
That should be fine but make sure you don’t skip the yeast.
Best,
Carolina
Have you done this with gluten free bread flour?
I would love ur recipe for the cottage cheese bread, & wondering if it’s in ur Pass the Plate cookbook. Thank u, Kathy B
Here it is:
https://cooking.nytimes.com/recipes/760726543-cottage-cheese-bread?unlocked_article_code=1.4V0.Bbwv.HqU2w4IYIaqp